
How to Build an EnviroBucket to Capture an Air Sample
An air sampling or capturing device using a bucket draws ambient air into a non-reactive plastic bag for laboratory analysis.
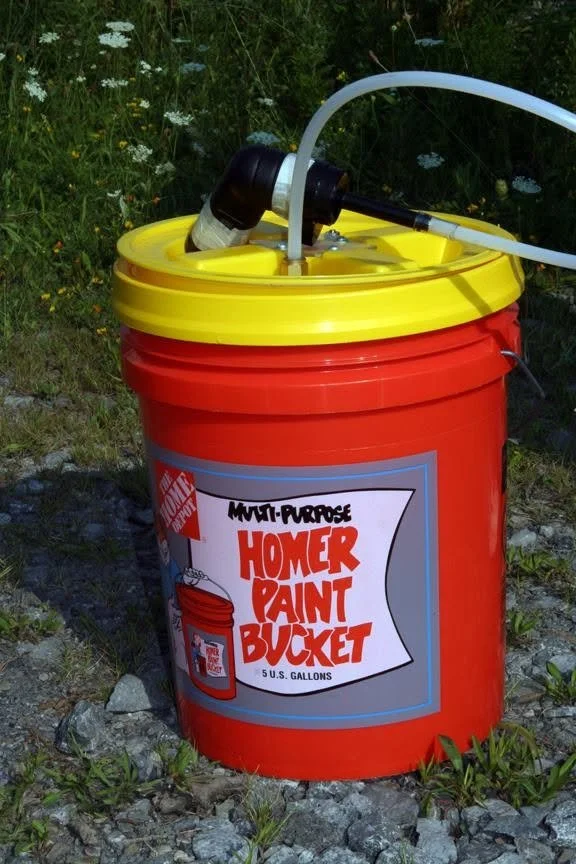
Required Materials
5-Gallon Bucket with a matching lid (acts as the outer structural shell)
Tedlar Bag (a non-reactive plastic sample bag, typically 1-liter or larger). This can be purchased through SKC.
Inlet and Outlet Tubing (small-diameter plastic or Teflon tubing)
Hand Pump or Siphon Bulb (to create a vacuum or draw air through the system without contaminating the sample)
Valve/Clamp Assembly for sealing the bag airtight
Step-by-Step Assembly
Prepare the Bucket Lid: Drill a small, tight-fitting hole through the center of the bucket lid just large enough to pass your sampling tube through.
Position the Sample Bag: Place the empty Tedlar Bag inside the bucket. Connect the intake tube from the outside environment directly to the valve of the Tedlar bag. [1]
Create the Vacuum Seal: Ensure the lid seals tightly onto the bucket rim. By applying a hand vacuum pump to a secondary exhaust port on the bucket (or using the displacement method), you lower the pressure inside the bucket, causing the Tedlar Bag to expand and draw in ambient air directly from the source without passing through a mechanical pump mechanism. [1]
Isolate and Seal: Once the bag is full of the targeted air sample, immediately close the valve on the Tedlar Bag to prevent leaking or atmospheric contamination. [1]
Laboratory Submittal: Disconnect the bag, label it with time, location, and conditions, and ship or deliver it promptly to an analytical laboratory for testing. [1]